Managing Goroutines with Goroutine Pooling in Go (Worker Pool Pattern)
Goroutines are a key feature of GoLang that allows you to perform tasks in parallel, improving the performance of your applications.
By managing Goroutines effectively, you can ensure that your application is running smoothly and efficiently. But if you don’t control your spawning goroutines flow, you may face high resource usage in production, thus, your application goes down.
In this article, we going to learn how we can create a goroutine pool and manage it effectively.
There are a lot of approaches out there to achieve Goroutine pooling. Some people do it by themselves (check out this article) and some others (including me) prefer to use a stable package. Let me introduce you to the Ants, a high-performance and low-cost goroutine pool library.
Ants works as follows:
- You initiate a pool with a fixed size of goroutines.
- You invoke a task into the pool.
Antschecks to see if is there any available Goroutine to handle your task or not. If it is, your task is handled immediately. If not, it spawns a new worker to handle your task. If the pool size limit is reached, it waits until a worker becomes available.
Let’s see some codes! First of all, install the Ants package:
go get -u github.com/panjf2000/antsAnd initiate the pool:
func main() {
    p, err: = ants.NewPoolWithFunc(10, func(i interface {}) {
        n := i.(int)
        fmt.Printf(("Processing task #%d\n", n)
        time.Sleep(time.Second)
    })

    if err != nil {
        fmt.Println("Failed to initiate goroutine pool")
        panic(err)
    }
}
As you can see, we initiated our pool with a limit of 10 workers. In the second argument, we have our Callback function which is responsible for handling our task. All things that have to be done should be written in this closure. So basically our task accepts an i parameter, casts it to an integer, and finally prints out that parameter in the following format: ‘Processing task #1’. Then it goes to sleep for one second.
When we have our pool ready, it’s time to invoke our values to be handled by the task handler:
func main() {
    p, err: = ants.NewPoolWithFunc(10, func(i interface {}) {
        n: = i.(int)
        fmt.Printf("Processing task #%d\n", n)
        time.Sleep(time.Second)
    })

    if err != nil {
        fmt.Println("Failed to initiate goroutine pool")
        panic(err)
    }

    for i: = 0; i < 100; i++{
        err: = p.Invoke(i)
        if err != nil {
            fmt.Println("Failed to invoke data")
        }
    }
}
By creating a loop, we pass different values to our task handler. Pay attention that we’re iterating from 0 to 99, so our callback would be run 100 times.
Now it’s time to build and run the application to see the magic! Since our goroutine pool is limited to 10 concurrent workers and our task handler has a sleep time of one second, the for loop pauses when the i variable reaches the value 9. That’s because there is no available worker to run our handler. After one second (when our previous workers are done with their tasks), 10 other values will be invoked and the same process repeats until the loop is over after ~10 seconds. That’s how you can limit the creation of your goroutines.
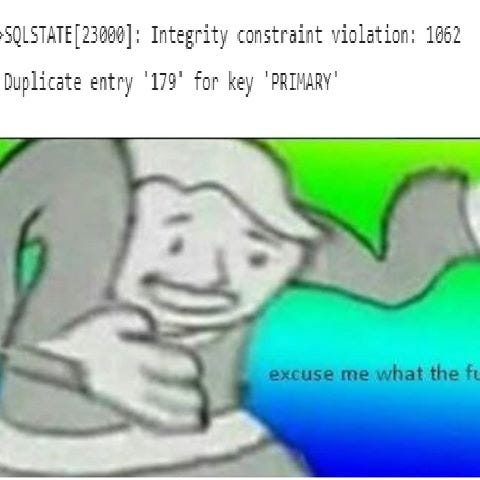
You might be wondering what’s the use case of goroutine pooling. Well, consider a scenario in which a messaging service (NATS, RabbitMQ, Kafka, etc.) is publishing some messages and you’re opening a new goroutine to handle those messages. What happens if your application receives hundreds of messages at once? It’s going to eat up the whole machine’s memory, and that’s something that the OOM Killer can’t stand out and immediately kills your application’s process!
One last thing about passing values to our task handler. As we have seen, the handler closure accepts only one parameter and we can not pass multiple parameters to it. Fortunately, our only parameter is an empty interface (interface {}), and the empty interface can hold any value, so we can pass our custom struct to have the values we need. Tada!
As always, if you found this article helpful, please give it some (not just one) claps!
Happy coding!